Mastering Microsoft Word: How To Remove Markup Area On Word
Microsoft Word is one of the most widely used word processing programs across the globe, renowned for its versatility and array of features. However, one of its features that can sometimes become a nuisance is the markup area that appears during document editing, particularly when you are collaborating with others. This markup area can clutter your view and detract from the overall presentation of your document. In this article, we will explore effective methods on how to remove the markup area on Word, so you can maintain a clean and professional appearance in your documents.
Whether you are working on a collaborative project or simply refining your own work, knowing how to manage the markup area can significantly enhance your document editing experience. By learning to remove these markings, you can focus more on the content rather than the distractions that may arise from the editing process. Let’s dive into the various ways to eliminate the markup area in Microsoft Word and streamline your workflow.
This guide will not only cover the basics of hiding or removing the markup area but will also answer common questions and provide step-by-step instructions. Whether you are a novice or an experienced user, this article will equip you with the knowledge you need to make Microsoft Word work for you.
What Is the Markup Area in Microsoft Word?
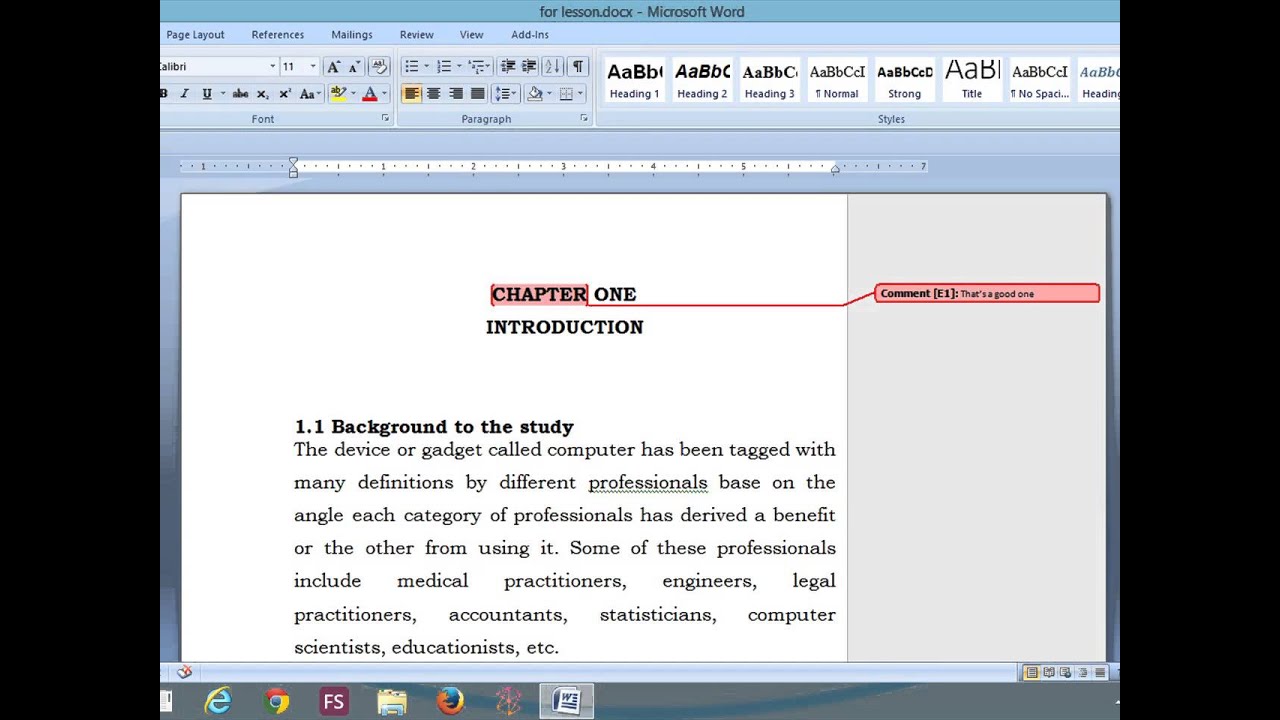
The markup area in Microsoft Word is a space that displays comments, revisions, and track changes made to a document. This feature is particularly useful during collaborative projects, where multiple users make edits or suggestions. The markup area allows users to see who made changes and provides a platform for discussion and clarification. However, it can also clutter your workspace, making it challenging to focus on the actual content of the document.
Why Would You Want to Remove the Markup Area?
Removing the markup area can be beneficial for several reasons:
- Improved Focus: Eliminating distractions allows you to concentrate on the content rather than the annotations.
- Professional Presentation: A clean document is often more visually appealing, especially for formal submissions.
- Enhanced Collaboration: When you are ready to share your document without the clutter, it creates a more streamlined experience for your audience.
How to Remove Markup Area on Word: Basic Steps
To remove the markup area on Word, follow these straightforward steps:
- Open your document in Microsoft Word.
- Go to the "Review" tab on the Ribbon.
- Locate the "Markup" section.
- Click on "Show Markup" and uncheck the options that you want to hide.
- To remove the markup area entirely, click on "Accept" or "Reject" changes in the same "Review" tab.
Can You Permanently Remove Markup from a Document?
Yes, you can permanently remove markup from a document. This can be accomplished by accepting or rejecting all changes made to the document. Here’s how:
- In the "Review" tab, click on "Accept" or "Reject" to review each change.
- If you want to accept all changes at once, click on the dropdown arrow under "Accept" and choose "Accept All Changes in Document."
- This will remove all markup and permanently incorporate the changes into your document.
How to Hide the Markup Area Without Removing Changes?
If you wish to keep the changes but hide the markup area, you can do so by adjusting the view settings:
- Go to the "Review" tab.
- Click on "Display for Review."
- Select "No Markup" to hide the markup area while still retaining changes in the document.
Will Hiding Markup Affect Document Collaboration?
Hiding markup will not affect the ability of others to collaborate on the document; it simply changes your view. Other users will still see the markup when they open the document unless they also choose to hide it. This feature is helpful when you need to present a clean version of your document while keeping the original comments and edits intact.
Are There Other Ways to Manage Markup Areas in Word?
Yes, aside from removing or hiding the markup area, you can manage it by:
- Using the "Track Changes" feature to control what is displayed.
- Utilizing the "Protect Document" feature to limit edits and comments by others.
- Customizing your view settings to show or hide specific markup elements as needed.
What to Do If Markup Area Doesn’t Go Away?
If you find that the markup area won’t disappear even after following the steps mentioned, consider these troubleshooting tips:
- Ensure that you have accepted or rejected all changes.
- Restart Microsoft Word and reopen your document.
- Check for any updates that may need to be installed for Word.
Conclusion: Taking Control of Your Document’s Appearance
Knowing how to remove the markup area on Word is an essential skill for anyone looking to create polished and professional documents. Whether you are preparing a report, writing a paper, or collaborating with colleagues, managing the markup area can significantly improve your editing experience. By following the steps outlined in this article, you can tailor your Word documents to best suit your needs and maintain a clean, distraction-free workspace.
Remember, whether you choose to hide the markup area or remove it entirely, the goal is to focus on the content and ensure that your document is presented in the best light possible. Happy editing!
Unveiling The Legacy Of Jason Kidd's Dad
Exploring Airlines That Fly To Africa From The USA
Mastering Your Privacy: A Guide On How To Delete My Birthday From Facebook


