Unlocking The Secrets Of Dermaplaning At Home: A Comprehensive Guide
Are you tired of dull, uneven skin and looking for a solution that you can easily do at home? Dermaplaning at home may be the answer you've been searching for. This popular skincare technique not only enhances your complexion but also allows for better absorption of your favorite skincare products. With just a few simple steps, you can achieve a smooth, radiant finish without the need for expensive spa treatments. In this article, we will delve into what dermaplaning is, how to perform it safely at home, and the benefits of incorporating this practice into your skincare routine. Whether you're a skincare novice or a seasoned enthusiast, you’ll discover valuable tips and tricks to achieve the best results.
Many people are turning to dermaplaning at home to achieve that coveted glowing skin. But what exactly is dermaplaning, and why has it gained so much popularity? This effective exfoliation technique involves using a small surgical scalpel to gently remove dead skin cells and fine vellus hair (often referred to as "peach fuzz") from the surface of the skin. Not only does this process reveal a smoother complexion, but it also allows makeup to apply more evenly and can prevent clogged pores.
In this guide, we will explore the ins and outs of dermaplaning at home, addressing common questions, providing step-by-step instructions, and offering tips for aftercare. The goal is to empower you with the knowledge and confidence to take your skincare routine into your own hands. So, let’s jump right into the world of dermaplaning!
What is Dermaplaning?
Dermaplaning is a cosmetic procedure that involves the use of a sterile surgical scalpel to remove the outermost layer of dead skin cells and fine hair. This technique not only helps to exfoliate the skin but also promotes cell turnover, leading to a fresher, more youthful appearance. Unlike other exfoliation methods, dermaplaning provides immediate results with minimal downtime.
Who Can Benefit from Dermaplaning at Home?
Dermaplaning is suitable for most skin types, but certain individuals may find it particularly beneficial. People with dull, rough skin or those struggling with acne scars can see significant improvements. Additionally, those who wear makeup regularly may find that dermaplaning enhances their makeup application, giving them a flawless canvas.
What Are the Benefits of Dermaplaning at Home?
- Immediate Radiance: Experience an instant glow after your first session.
- Improved Product Absorption: Skincare products penetrate deeper into the skin.
- Flawless Makeup Application: Makeup goes on smoother and lasts longer.
- Reduced Appearance of Fine Lines: Regular dermaplaning can soften the look of fine lines.
How to Prepare for Dermaplaning at Home?
Before you begin dermaplaning at home, it's essential to prepare your skin properly. Start with a clean face, free from makeup and impurities. Here’s how to prepare:
- Cleanse your face with a gentle cleanser to remove dirt and oil.
- Pat your skin dry with a clean towel.
- Ensure your skin is completely dry before starting the dermaplaning process.
What Tools Do You Need for Dermaplaning at Home?
To perform dermaplaning at home, you'll need a few essential tools:
- A sterile surgical scalpel or a specifically designed dermaplaning tool.
- Gentle cleanser.
- Moisturizer or hydrating serum for post-care.
- Optional: Alcohol wipes for sanitizing your tool.
How to Perform Dermaplaning at Home?
Now that you have everything ready, follow these steps to perform dermaplaning at home:
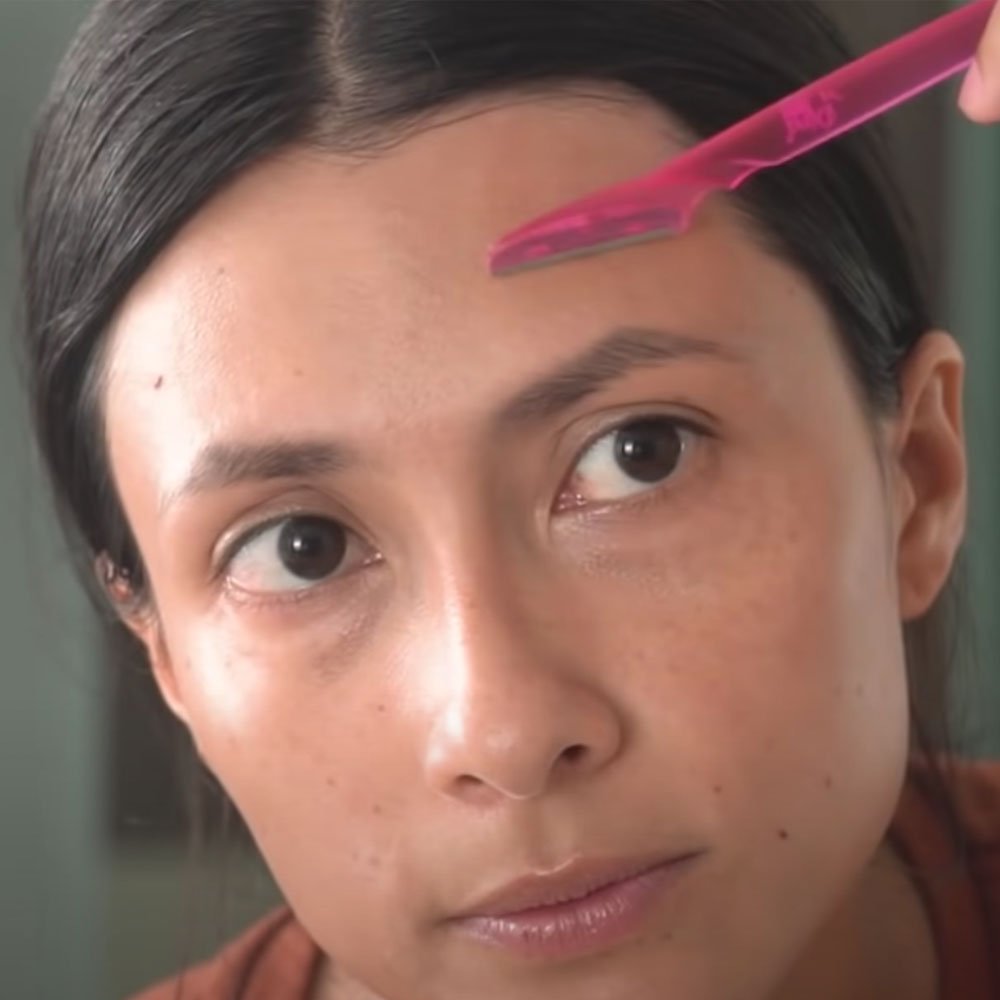
- Hold the scalpel at a 45-degree angle to your skin.
- Gently glide the scalpel across your skin in short, swift strokes.
- Focus on one section of your face at a time, such as the cheeks, forehead, and chin.
- Be careful around sensitive areas, like the eyes and mouth.
- After completing the process, apply a soothing moisturizer or serum.
What to Expect After Dermaplaning at Home?
After dermaplaning at home, your skin may appear slightly red or sensitive, similar to a mild sunburn. This is normal and should subside within a few hours. Here’s what you can expect:
- Immediate smoothness and brightening of the skin.
- Products will absorb better, enhancing their effectiveness.
- A potential increase in sensitivity, so avoid harsh skincare products for a day or two.
How Often Should You Dermaplane at Home?
The frequency of dermaplaning depends on your skin type and sensitivity. Generally, you can perform dermaplaning every 3 to 4 weeks. This allows your skin enough time to regenerate while maintaining a smooth surface. It’s important to listen to your skin’s needs and adjust accordingly.
Are There Any Risks Involved with Dermaplaning at Home?
While dermaplaning is generally safe when done correctly, there are some risks to consider:
- Improper technique can lead to nicks or cuts on the skin.
- Using a dull blade or an unsterilized tool can increase the risk of infection.
- People with certain skin conditions, like active acne or eczema, should avoid dermaplaning.
In conclusion, dermaplaning at home can be a beneficial addition to your skincare routine, offering immediate results and long-term benefits. By following the right techniques and taking the necessary precautions, you can achieve smooth, radiant skin without the need for professional treatments. Remember to listen to your skin, and enjoy the process of self-care!
Unveiling The Life Of Christina McLarty: A Glimpse Into Her Journey
Unraveling The Chilling Truth: How Many People Did Jeffrey Dahmer Kill?
The Rise Of The King Of Queens Meme: A Cultural Phenomenon


